The battle of Austand 1704.
The following is an account of a 10mm WSS game between Neal and myself in my garage at home using '& Blenheim Palace' Black Powder amendments from Last Hussar
The following is an account of a 10mm WSS game between Neal and myself in my garage at home using '& Blenheim Palace' Black Powder amendments from Last Hussar
The main change to the Black Powder rules in this supplement is that the Firing phase now comes before the command i.e. movement phase. This means that in effect a unit cannot now move up to an enemy and fire in the same turn but must now suffer the enemy unit to fire before being able to close in it's own initiative phase. We found that this seemed to reflect and encourage the use of the correct tactics for this particular period where units rarely engaged in melee other than fighting for built up areas, redoubts etc. We may in the future extend this to say that only shaken units may be charged from the front, we shall see.
All infantry get 'First Fire' +1 on the first time they fire, plus the British and Dutch get 'Platoon Fire', another +1 on their first turn of firing making them +2 in total. French cavalry us the 'Caracole' rule meaning that they cannot counter charge but instead fire at charging enemy cavalry using one die. The British cavalry have 'Ferocious Charge', re-rolling missed die rolls in their charge phase.
So here goes with the account of the battle:
The battle of Austand 1704.
June 1704, an Allied advance
guard consisting of fifteen battalions of foot with artillery support and ten
squadrons of horse commanded by Lieutenant General Cutts approached the village
of Austand in Bavaria.
It was 10 o’clock in the
morning when Cutts observed a French force occupying the village itself, and
the ground either side. After counting the standards of each enemy unit it was
found to consist of nine infantry battalions, four dismounted dragoon regiments
with attendant artillery and eight squadrons of cavalry.
Cutts immediately deployed
his infantry in two extended lines with a combined grenadier battalion in the
centre to assault and clear Austand and its surroundings to the front. The ten
squadrons of horse were placed on the Allied right flank opposite the French
Gendarmes deployed there.
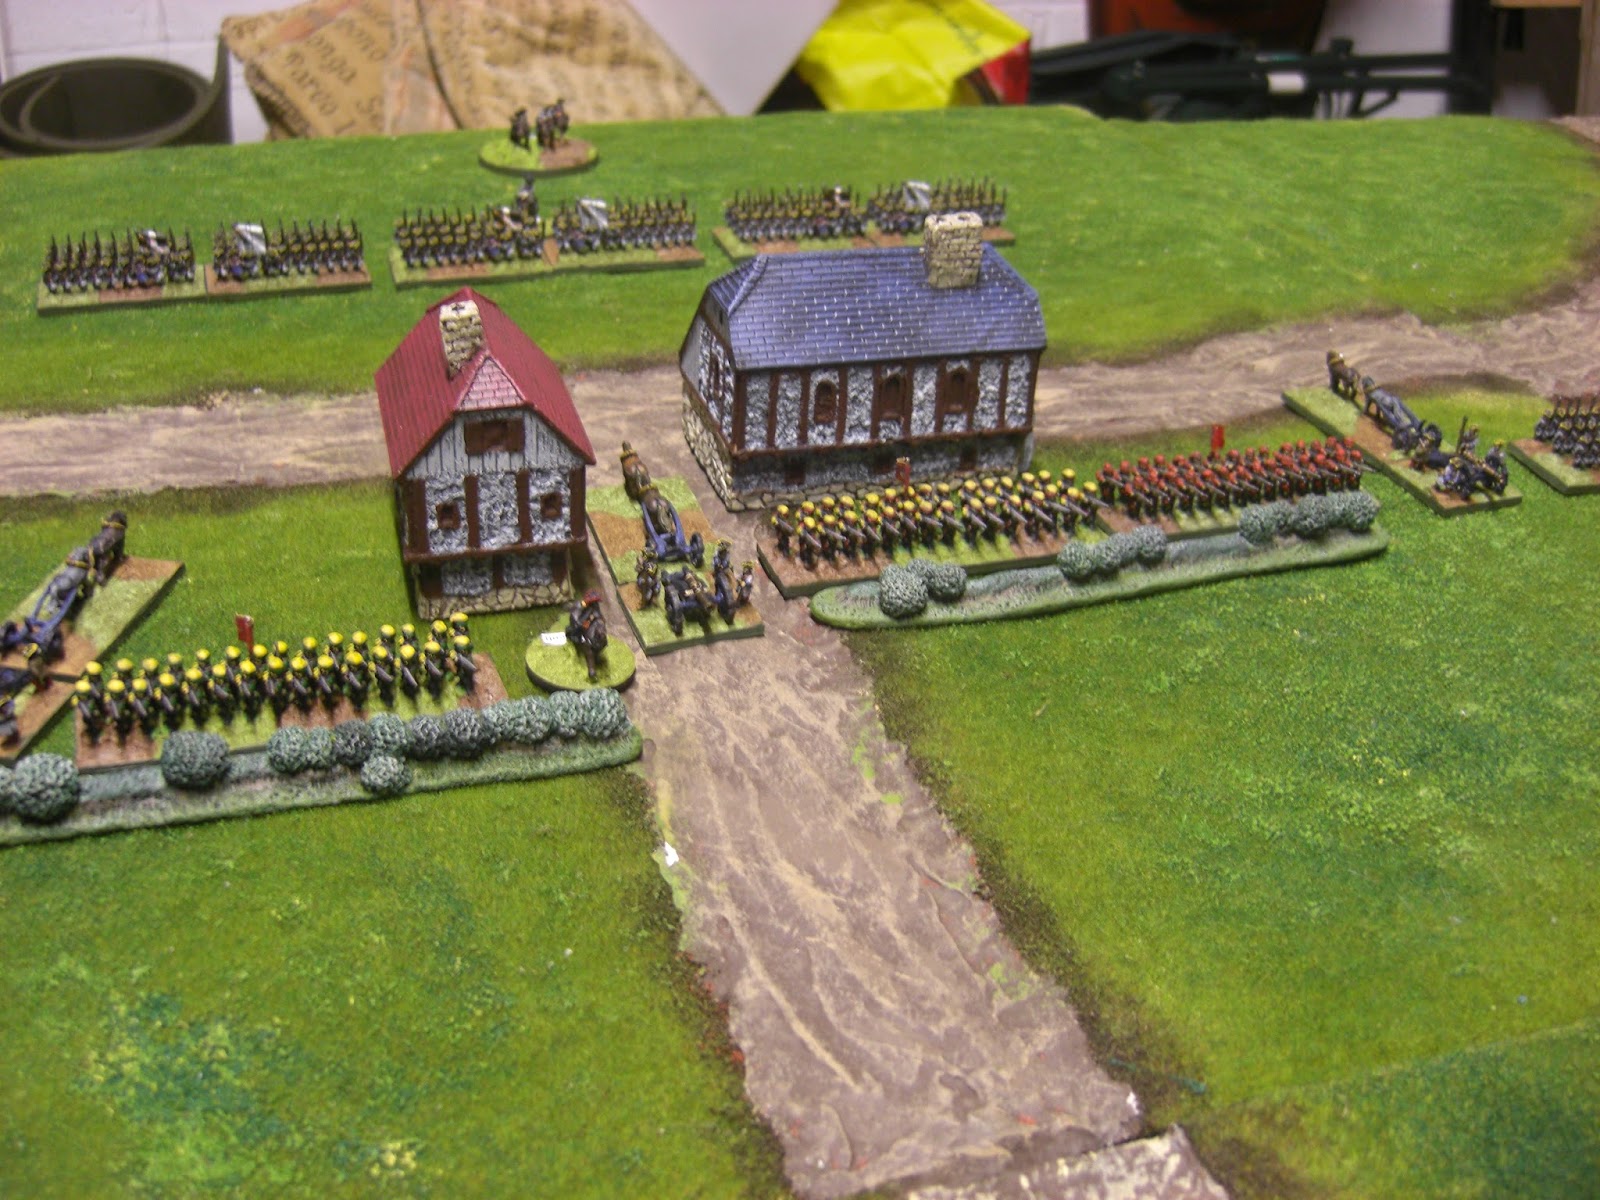
The battlefield with the Allies on the right of the picture and the French on the left with Austand village in the centre of their line.


The other end of the field with the French on the right and Allies to the left.


Lumley's ten British squadrons ready to advance.

The left wing of the French, three battalions of infantry, one battery and eight squadrons of Gendarmes waiting to receive them.

The centre of the French line, dismounted dragoons occupying the village of Austand with three battalions of the veteran Navarre regiment in reserve behind.
Grader's Brigade on the French right.


Opposite to them Ferguson's large British Brigade prepares to advance.

Finally the right wing of the Allied infantry ready to support the cavalry attack to their right, Rowe's British Brigade to the front with Wilke's Hessen Kassel Brigade in support.
At 11 o'clock precisely, after an initial artillery bombardment Neal (commanding the Allied force) ordered the advance of the left wing a good dice roll allowing three moves towards the French position.
This picture shows the attack going in on the third turn with the Grader Allemand regiment (in blue coats) having suffered heavy casualties in the firefight forcing the British Battalions back. The small die behind the unit shows it's moral status.

This shows the left hand Greder Allemand Battalion manoeuvring onto the flank of the British battalions which were saved by heavy and accurate British artillery fire into the flank of the French causing them to break. Both Brigades fought themselves to a standstill on this flank, in the end neither being allowed to advance closer to the enemy.

On the Allied right flank their cavalry begin their advance with the Rowe's Brigade in support on their flank. The Hessen Brigade may be seen lagging behind (crappy die rolling Neal!)
Both lots of cavalry were forced to remain in their squadron column formations through lack of room to deploy.
Big mistake Dave, I should have charged but I relied on the firepower (or lack of it!), the British cavalry sliced through their French counterparts after three turns. French to the right British to the left (every one's in red, confusing isn't it!).


My left flank was crumbling before my eyes.


Luck turns. Finally the three Navarre Battalions move into position, the British cavalry fail to get into place to exploit their victory over the Gendarmes and the Wilke's Hessen Kassel Brigade is tardy in it's advance.


All in all a cracking game and one which we will be repeating at the Boarder Riever club in a couple of weeks.
Don't get me wrong, Black Powder isn't perfect, the chance of moving three full moves in one turn at first appears weird (by doing this unsupported by other troops you can get into trouble) I still want to sort out supporting fire on troops charging into contact from this distance, however it can if you wish provide a skeletal set of rules upon which you can fit on bits to replicate the period in which you are fighting and you need to know your period to get this right. What it does do is let the game flow and achieve a fairly realistic result in a sensible time.
Hope you enjoyed the read.
Dave.
Great looking game
ReplyDeleteI still need more convincing about Black Powder. There may be a set of rules hidded in all the rich boys twaddle but I've yet to find 'em.
ReplyDelete